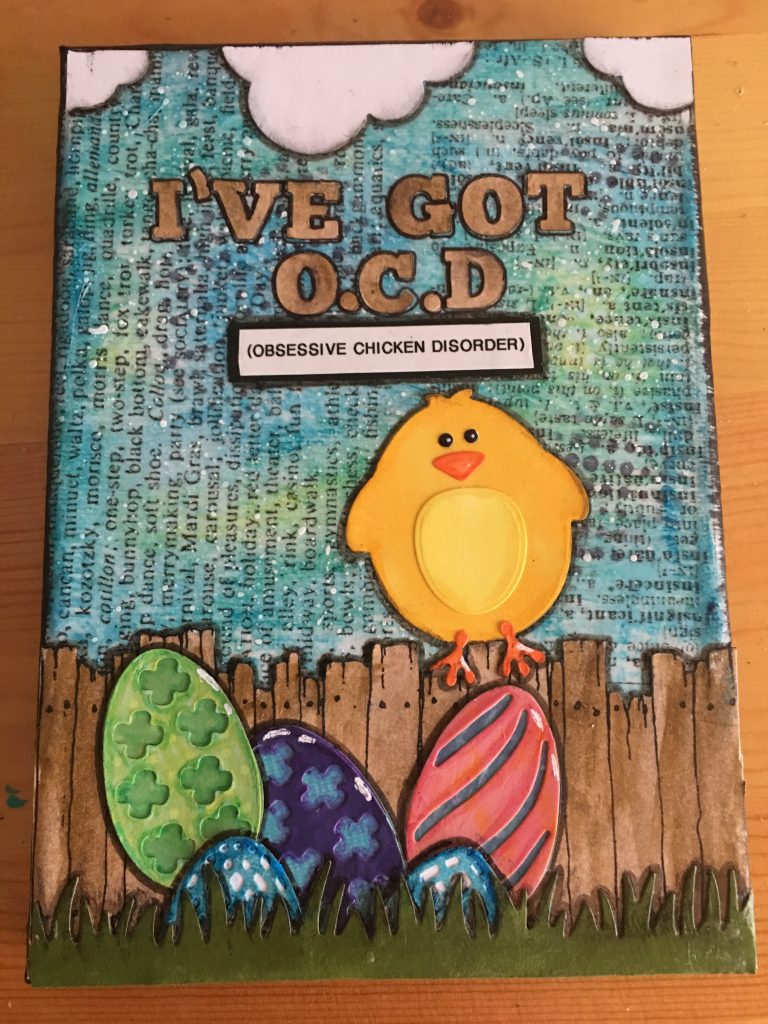
 Hi there, I am happy to be part of the Kat Scrappiness design team. I enjoy making cards but sometimes it is nice to use your supplies to make something a little different ... that's where I come in, a little different!! For my First project I decided to go with an easy 5 x 7 mixed media canvas. This was a super cute and easy project and I'm happy to walk you through the steps.
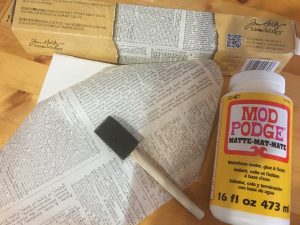
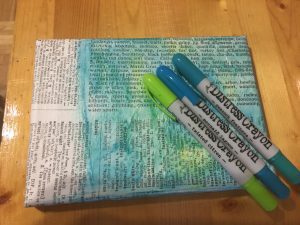
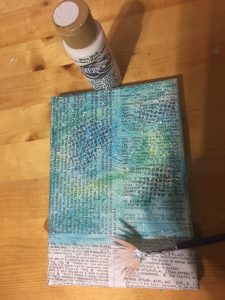
I started by covering my canvas with Tim Holtz's Ideology Tissue Paper which I had in my stash. I used Mod Podge to adhere the paper onto the canvas. I usually cover the canvas with the glue first and then adhere the paper on, then seal it with a second coat of mod podge.
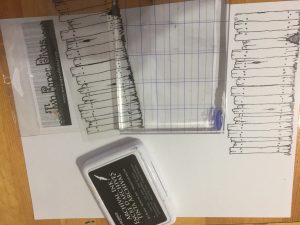
Next, I stamped this weathered fence image by Two Paper Divas onto white cardstock and fussy cut it.
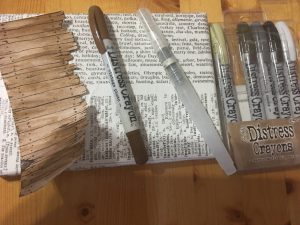
Then comes the fun part part... playing with Tim Holtz - Distress Crayons, These crayons are so versatile you can use them to colour in your stamps or to create fun backgrounds! I did both! I used Vintage Photo distress ink for the fence, and the background is made using of Mermaid Lagoon, Peacock Feathers and Twisted Citron distress inks. Using the Tim Holtz Water Brush, I can vary the pigment so that it isn't one solid colour.
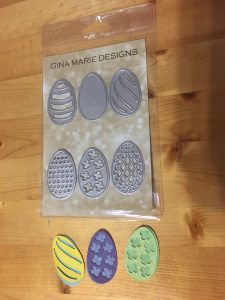
I used Gina Marie's Easter Egg dies and die cut them with my Vagabond using just scraps of paper that I had laying around.
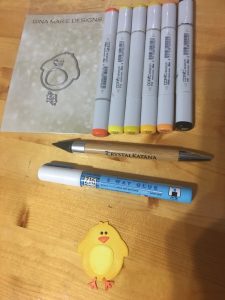
I also used Gina Marie's Easter Chick dies to create this adorable little character. I die cut it out of white cardstock and colored the image with my copic markers. I used my Crystal Katana and my Zig 2 Way Glue Pen to help me glue the pieces together since they were so tiny.
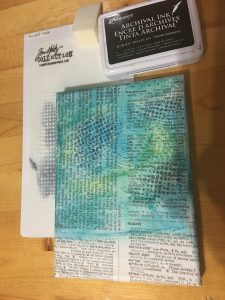
Now that my background is dry I wanted to give it a little bit more texture, I started by using a favourite stencil of mine which is the Tim Holtz's Dot Face Stencil. I used Ranger Archival Black Ink and an old make up sponge and added the stenciling in a few places. To create the background splatter, I used watered down white paint and an old fan brush. I just dipped the brush in the watered down paint, and used another brush to tap it above and onto my canvas.
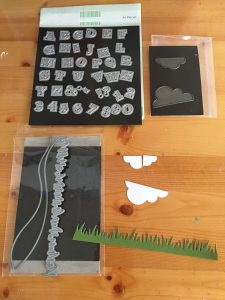
I die cut the rest of my elements using dies that were gifted to me while back by a very good friend. I used green cardstock to cut a strip of grass, white for the clouds and also white for the letters i will be using for my quote. Once my letters were cut I used the Tim Holtz Distress Crayons in Vintage Photo, so it would match my fence.
For my final step, I glued down all my elements with Mod Podge and then sealed everything again with a top coat. I then used my label machine to create the rest of my quote. I added a black layer behind it and glued it on my project.
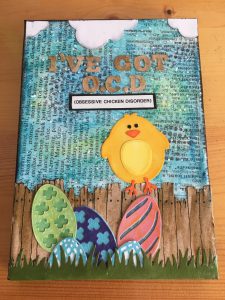
Then came the fun part just adding a bit of shadow around all the elements using my Pitt Black Big Brush Marker. This is my final project:
I had so much fun creating this canvas for Kat Scrappiness and look forward to sharing more projects with you in the future! If you have any questions about the process of this project, please feel free to leave a comment on this post and I will get back to you.
No comments:
Post a Comment