Pages

Friday 31 March 2017

Easter Peeps


Hi everyone this is Mona playing around with my peeps dies from Kat Scrappiness amd came up with this fun card.
      
I first started my card by cutting my white cardstock with my cutterpillar-pro-abs-paper-trimmer to 4.1/4" x 11" scored at 51/2" . Then picked a  pattern paper from my stash and cut it to 4"x 51/4" adhered to card base .I then took my film strip die from sizzix and die cut it using my Vagabond. I added white stip of paper behind top and bottom of the film strip.
Then came the fun part die cutting my  stitched Easter peeps  I die cut two of the larger one , used my copics to colour them. Took a stamp set from my stash to stamp eyes and glasses on the stitched Easter peeps I also used the brush-script-happy-easter-word-die-by-kat-scrappiness and used the same colour as my purple peep to colour it and glued it in my card. Speech bubble are from a lawn fawn stamp set  and both sentiments are from a mama elephant stamp set.
Hope you enjoyed this mini tutorial. Thank you very much for stopping by, see you soon!

Saturday 25 March 2017

Raccoon Birthday Card

Sun Sensational birthday Card I created using a fun digital stamp set called Stole my Heart.
Front of card.


 Inside of card.


 Die set and stamp set used to help me create this amazing fun card.


Easter Fun

I am very happy and honoured to now be on the Designer Team of Sunsational Crafts. This is my first project I created for this new company.  I used several of her new April release digital stamp set to create this fun art journal page. Most of my colouring was done wit copic markers, I used glitter for the eggs and my background was just done using several pastel colour acrylic paints. 


Tuesday 21 March 2017

RE-BIRTH


Good morning everyone, this is Mona again with another project.  I have to say this is my all time favourite project I ever created.  I had so much fun doing this project that I am thinking other themes for upcoming, project close to this one.


 I first started with a wooden canvas and used the back of it to create a shadow box type of frame.


 Here is where I went in garage to get scraps of wood and gotten cut to create my frame and window box... this project was inspired by Tim Holtz window die ... that's what inspired me to create the window but on a much larger scale.


 After having everything cut out .. I used Americana walnut acrylic paint for the frame and flower box . The top and bottom of window and the flower box I decided to keep it dark brown, but the frame I added a good coat of crackle medium let it dry, then added a coat of white Americana paint.  I Love how the crackle came out.   Next I adhered down a piece of turquoise burlap in the background of my window with a good coat of modpodge. The burlap came from a Canvas Corp Value Pack that was gifted to me by my friend Deb.


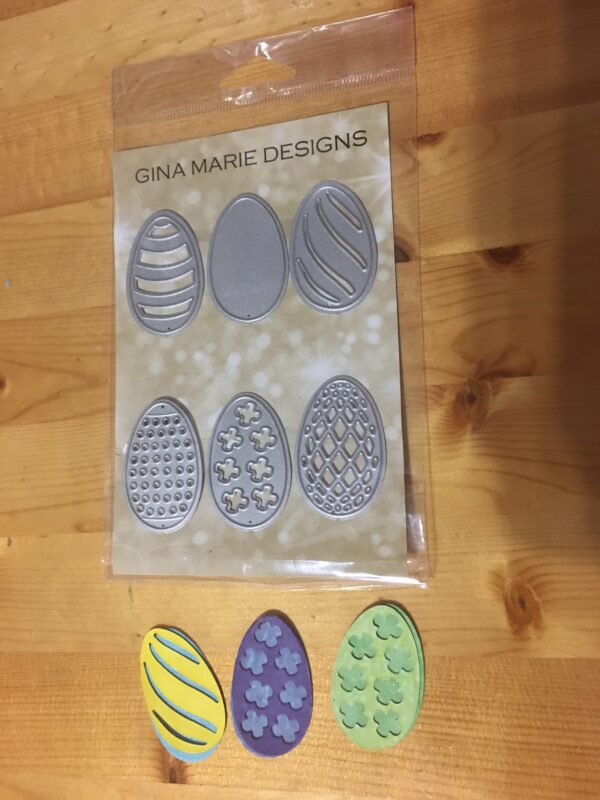
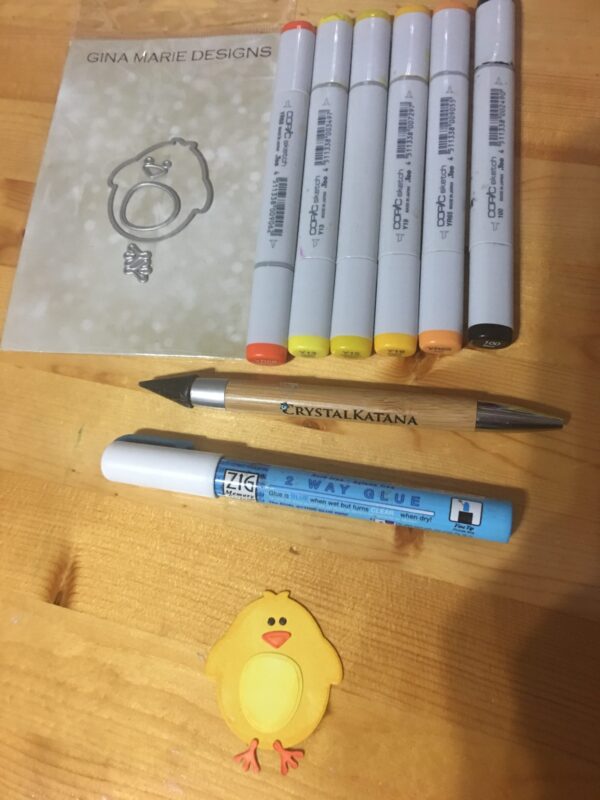
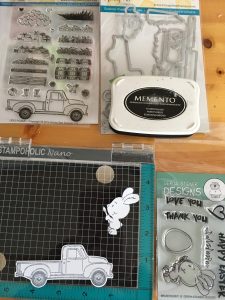
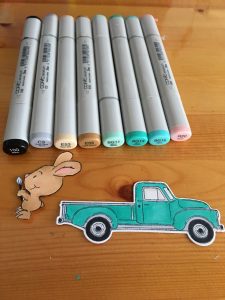
Next came the fun part choosing images and elements for my window, I used two different stamp sets from Art Impressions which I paper pieced, colored with copics and added a bit of glossy accent to give it a more realistic look.


I played around with my images and changed them spot , had furniture cut out of paper then back in garage to get them cut in wood to give it a more dimension look,, mini library top left corner and table bottom right  which I then painted. I used a mini stamp set from Sweet Stamp Shop coloring and fussy cutting cupcakes and coffee cups to add on the table.


For the finishing touch cut out a few wood blocks to make mini books for the library used different colours of paint and distress the edges of the book with black sooth distress ink then added a few lines on the spine of the book to give it a more realistic look.


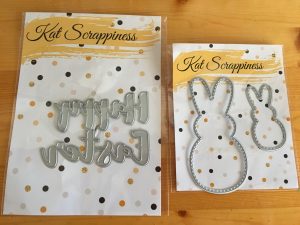
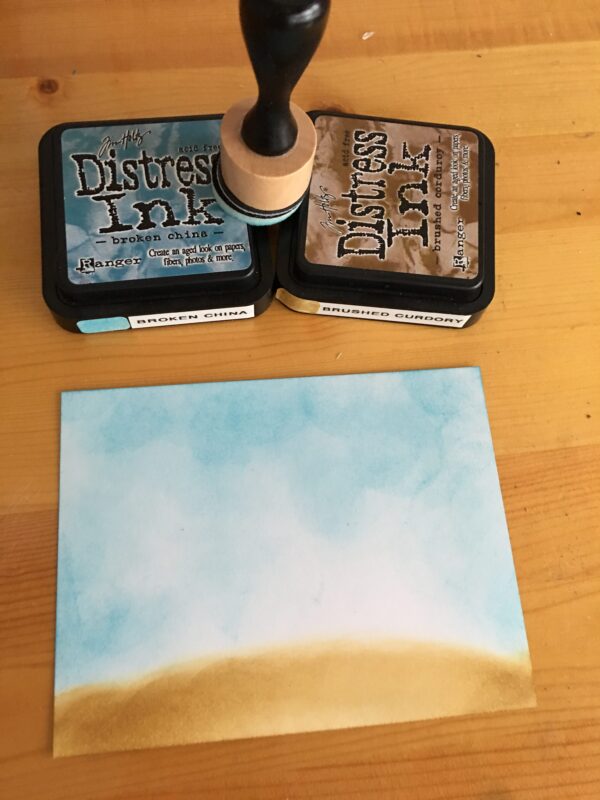
My final step was just adding the finishing touches.  I added distress in on the edge of my window frame this time using vintage photo.  Made a sign using a stamp set from Technique Tuesday called Besties popped up the sign using pop dots,  behind the table. I then added moss in my flower box and made a flower arrangements using flowers from my stash and for the final touch a little sign where I wrote Happy Spring. I hope you enjoyed this tutorial and hope to see you again soo. Happy Crafting Everyone!


Sunday 19 March 2017

Rainbow inspired- Canvas Corp Friday Challenge


Canvas Corp Friday Challenge 
Rainbow  inspired

Had a lot of fun creating this journal page. When I think rainbow I think of my rainbow of paints I have in my little craft heaven.


 I had both these stamp sets gifted to me at Christmas by my bff. This was the perfect project to get these baby out of their package and get them all nice and dirty . Stamped both of them on white cardstock and fussy cut them.


 Here I played a bit with my background, started by modpodging polkadot tissue paper , stamped a bit  with black archival ink using a script stamp from my stash... then had to tone it down using a mixture of light colour  Americana acrylic paints.


I then adhere my paint tubes amd brushes down and used glass beads to make my rainbow of paint.
My sentiment is from W9 Plus , You Colour My World. If you want additional information on this project just leave me a message. Thank you and watch for my next blog 😊

Sunday 12 March 2017

Water colour class with Kat 😊

 Went to a Water colour class in Bremerton Washington with Kat , it was introduction to water painting on cards ,.. it was  very basic more than we thought but made the best of it and had a blast. I think I never laughed so much a lady came up to me to ask me if I was ok.
 This is where I realized how Kat was a very messy painter lol first dab in the paint and all over her arm 😂
I was very happy it seems with the results of my cards lol

Saturday 11 March 2017

Sip and paint with my BFF in Bremerton, Washington.

 
Had so much fun at Sip and paint with Kathleen ... It was Kat's first time attending a sip and paint she did a fabulous job with her paint and really enjoyed herself also.


Easter card

Hello my crafty friends , Mona back with a fun Easter card  using two of my newest stamp sets that I recently purchased at Kat Scrappiness.    
                                                   
I started by using my Cutterpillar Pro and white card stock to cut the base of my card 5 1/2" x 8 1/2" and then another piece of white card stock 5 1/2" x 4 1/4" for my front panel.
Then went on to inking my background using Distress Ink by Tim Holts ( Broken China and Brushed Curdory)  and the mini blender by Ranger on my front panel.
My next step was getting all my elements ready. I used my Stampaholic Nano stamping Tool to stamp  my cute bunny from Brush Bunny by Gerda Steiner Designs and the truck from Little Pickup by Honey Bee using my Memento Tuxedo Black. My little bunny I fussy cut and the pick up I used the Little pickup die set by Honey Bee using my Vagabond. I just love that Little Pickup set it is so universal you can use for almost any occasion.
To colour both elements I used my copic markers.
Now the fun part assembling everything together. This is where I noticed  that I am missing something In the the sky so decided to add a few clouds using CLoud die set by Jillibean Soup. For the final touch I used Kat Scrappiness Easter Egg Hunt sequins mix  and added a bit of Glossy accent to the windows.
This was so much fun , I really love how my card turned out. Thank you all for joining us. See you next time.


Easter Canvas

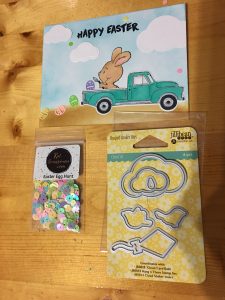
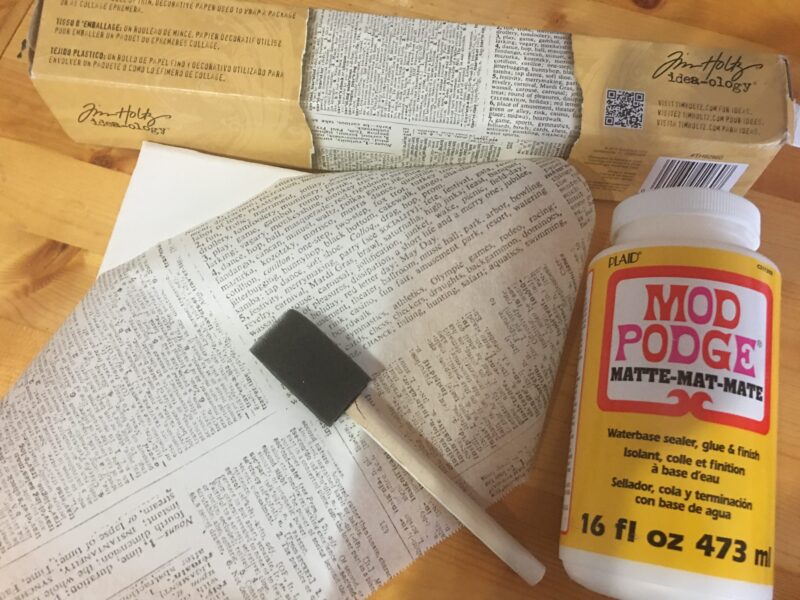
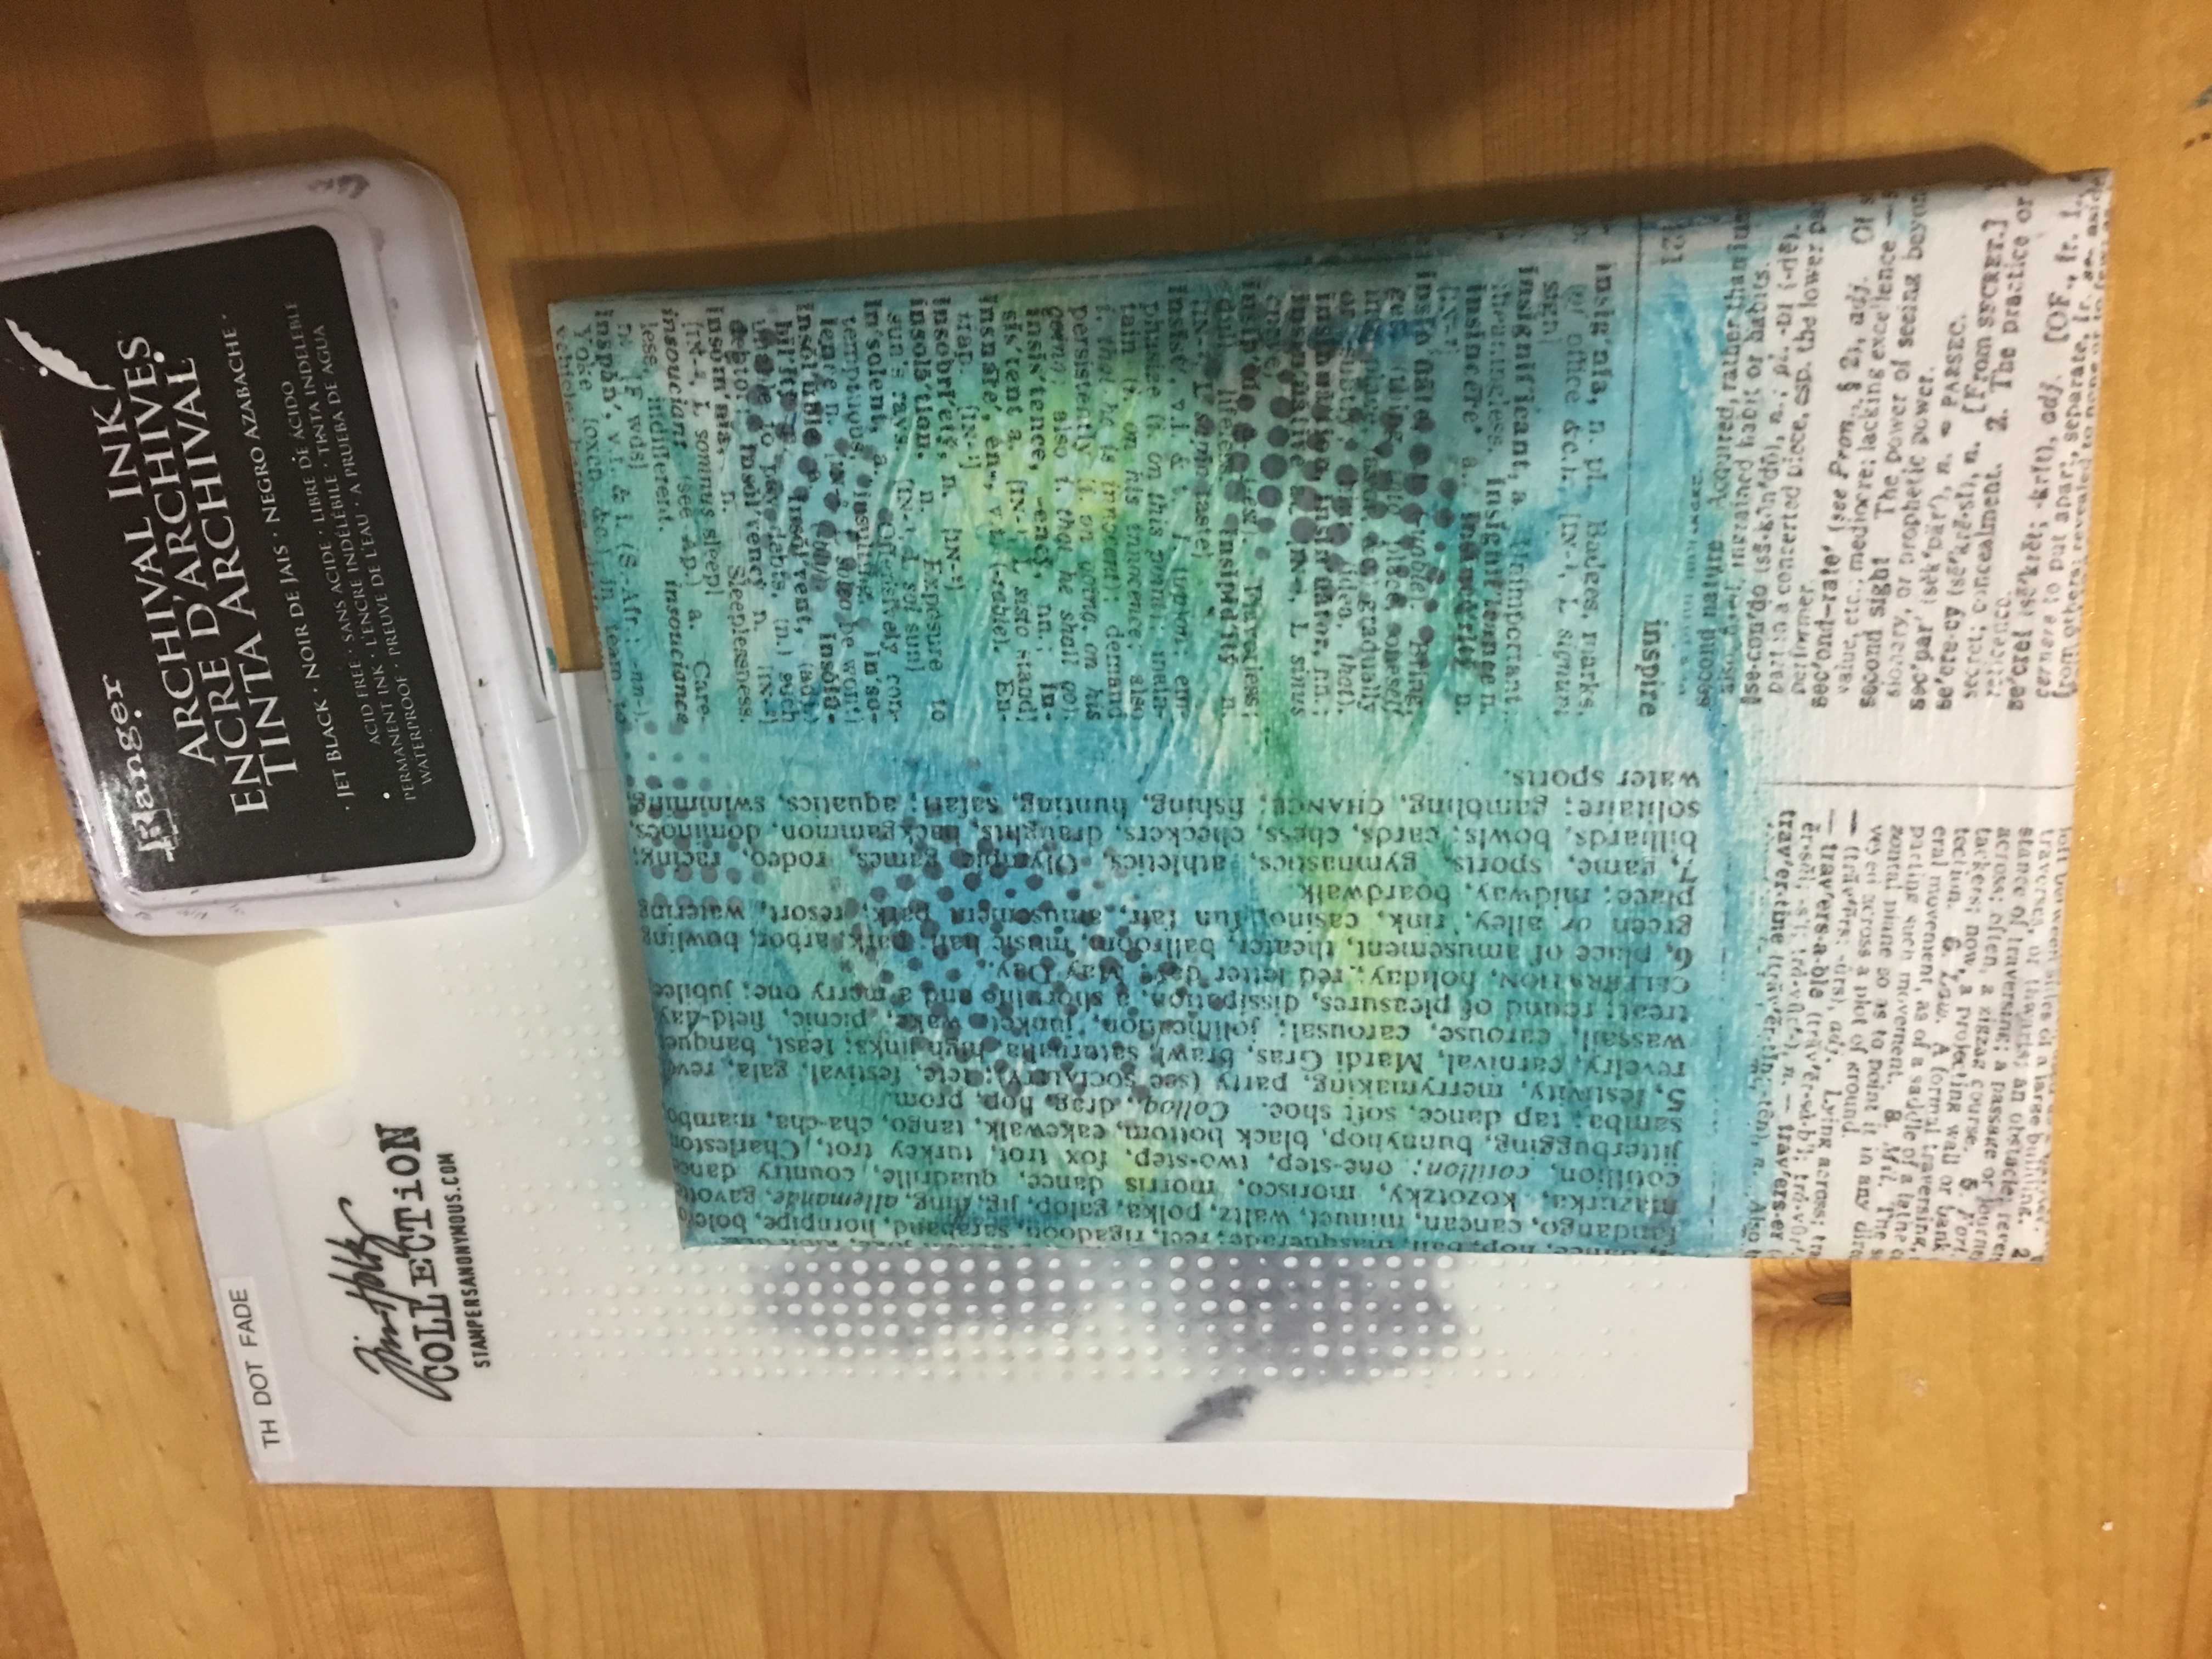
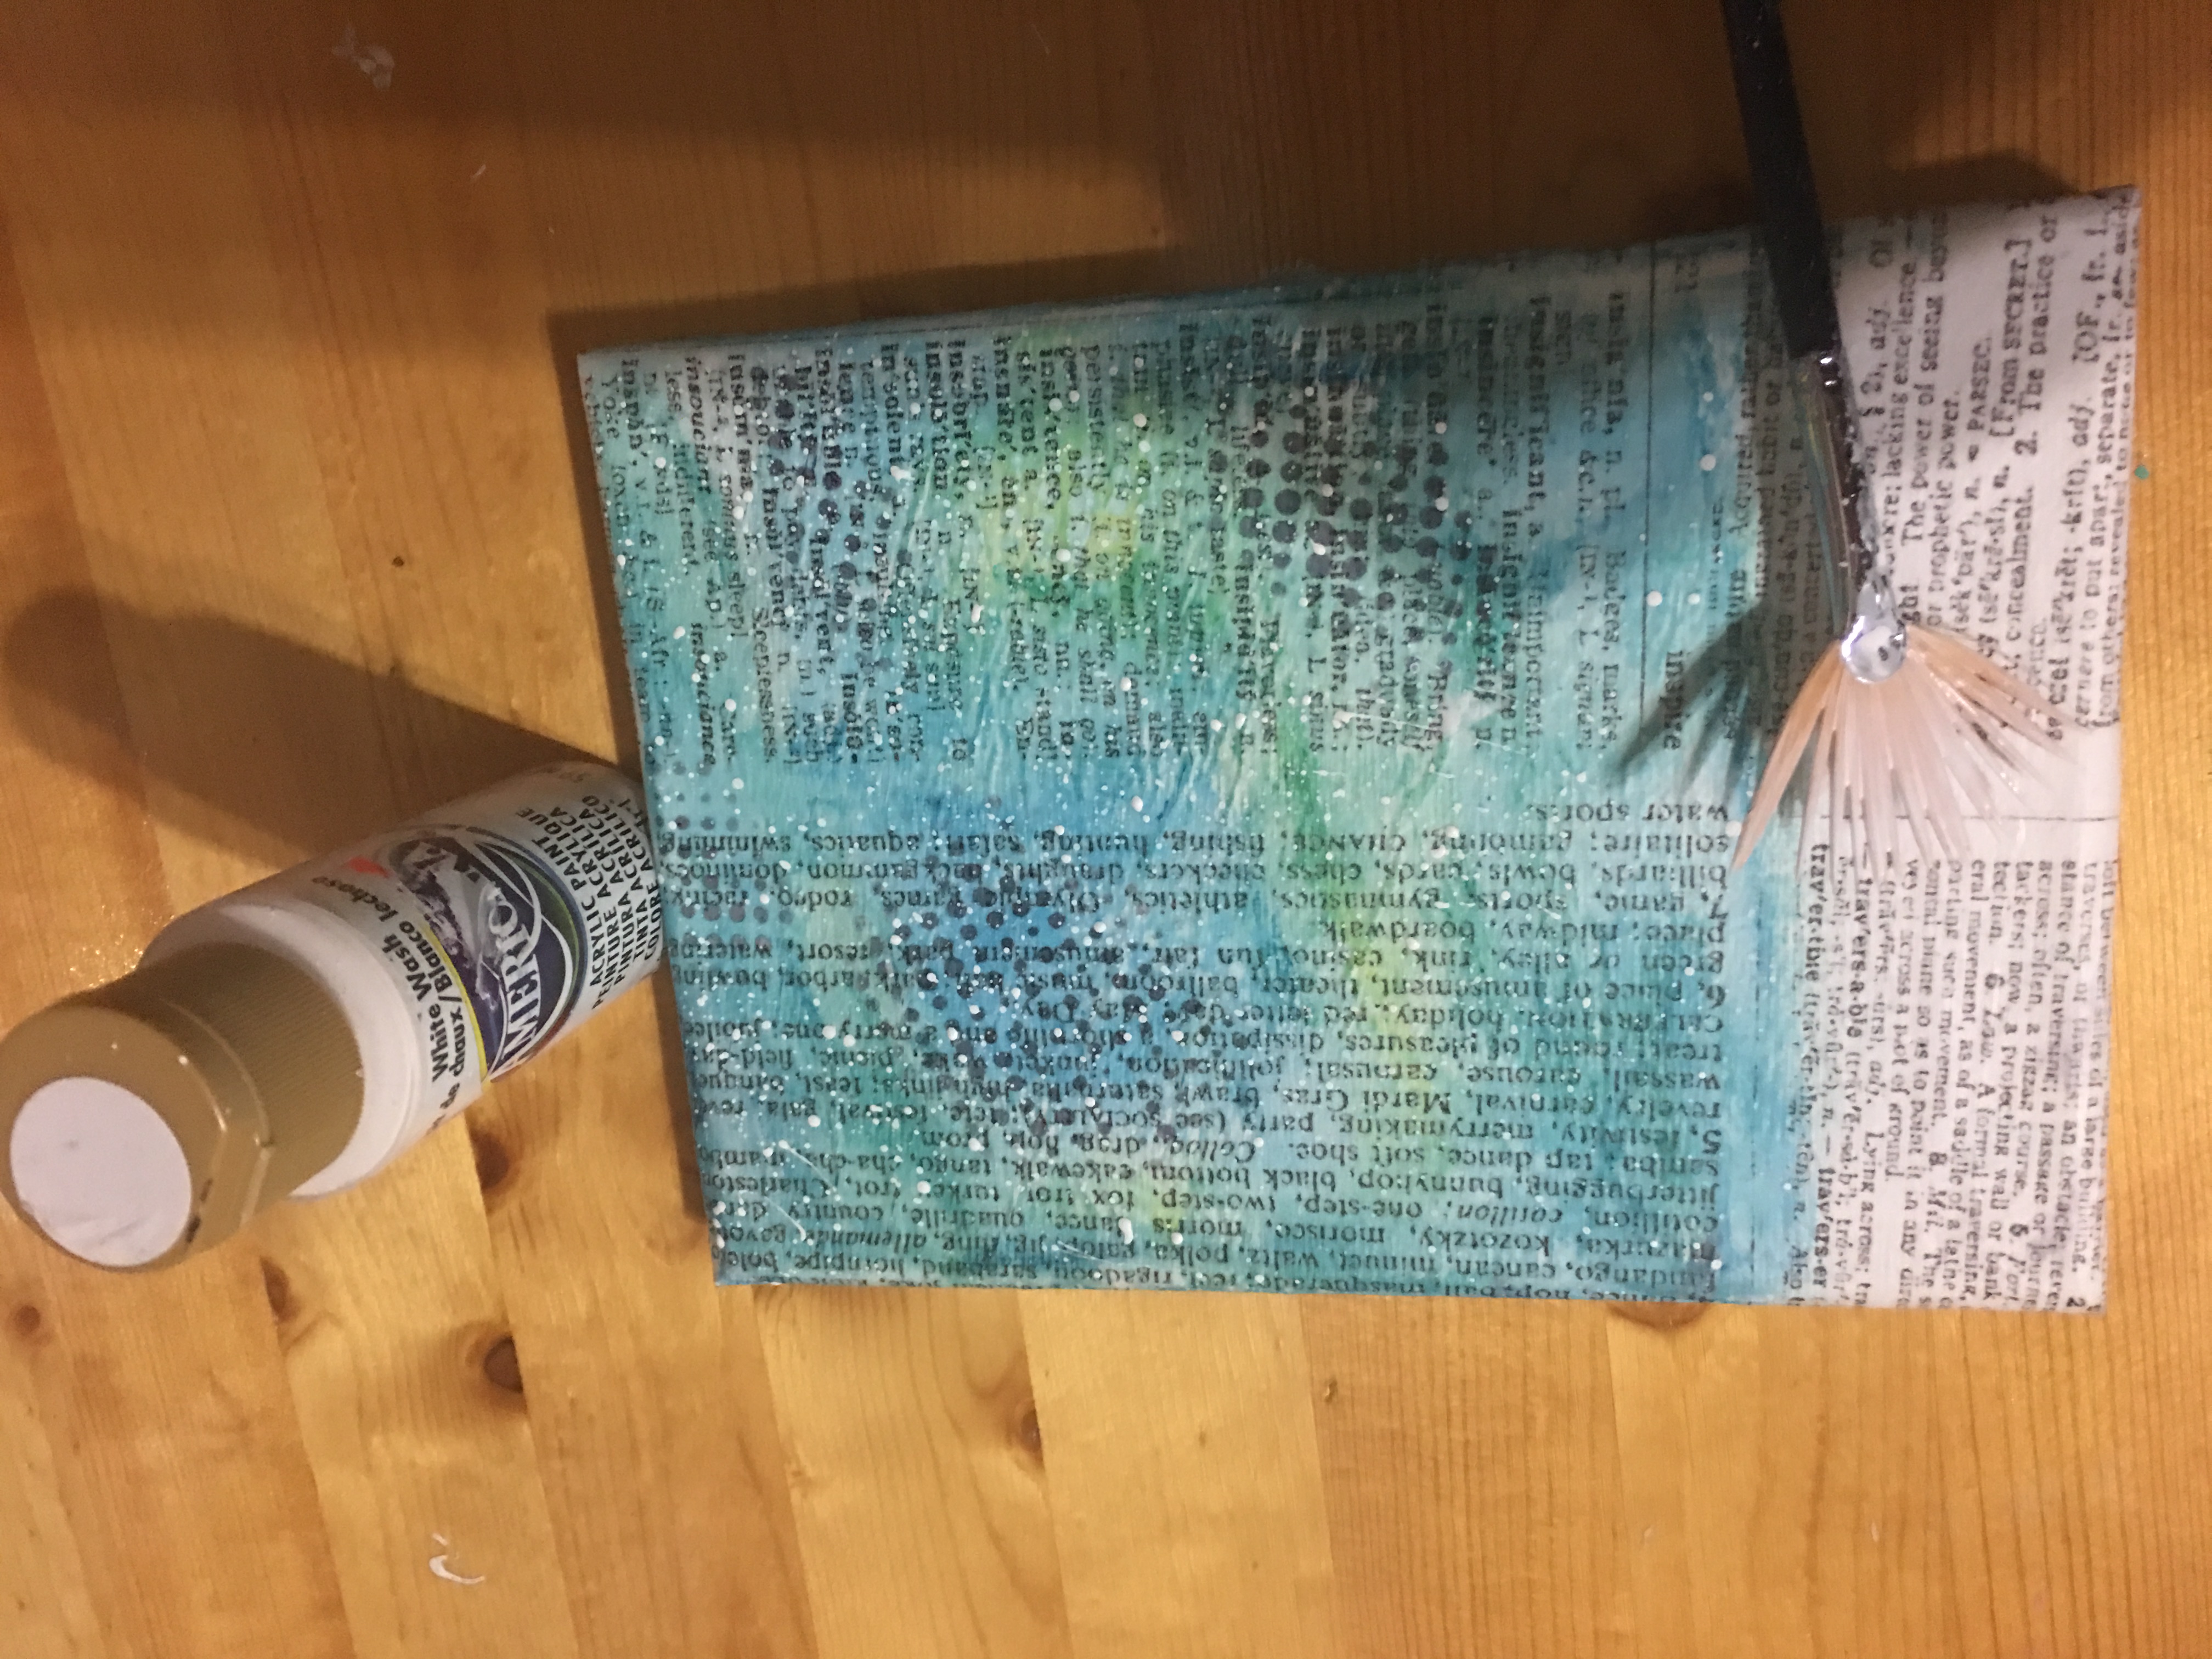
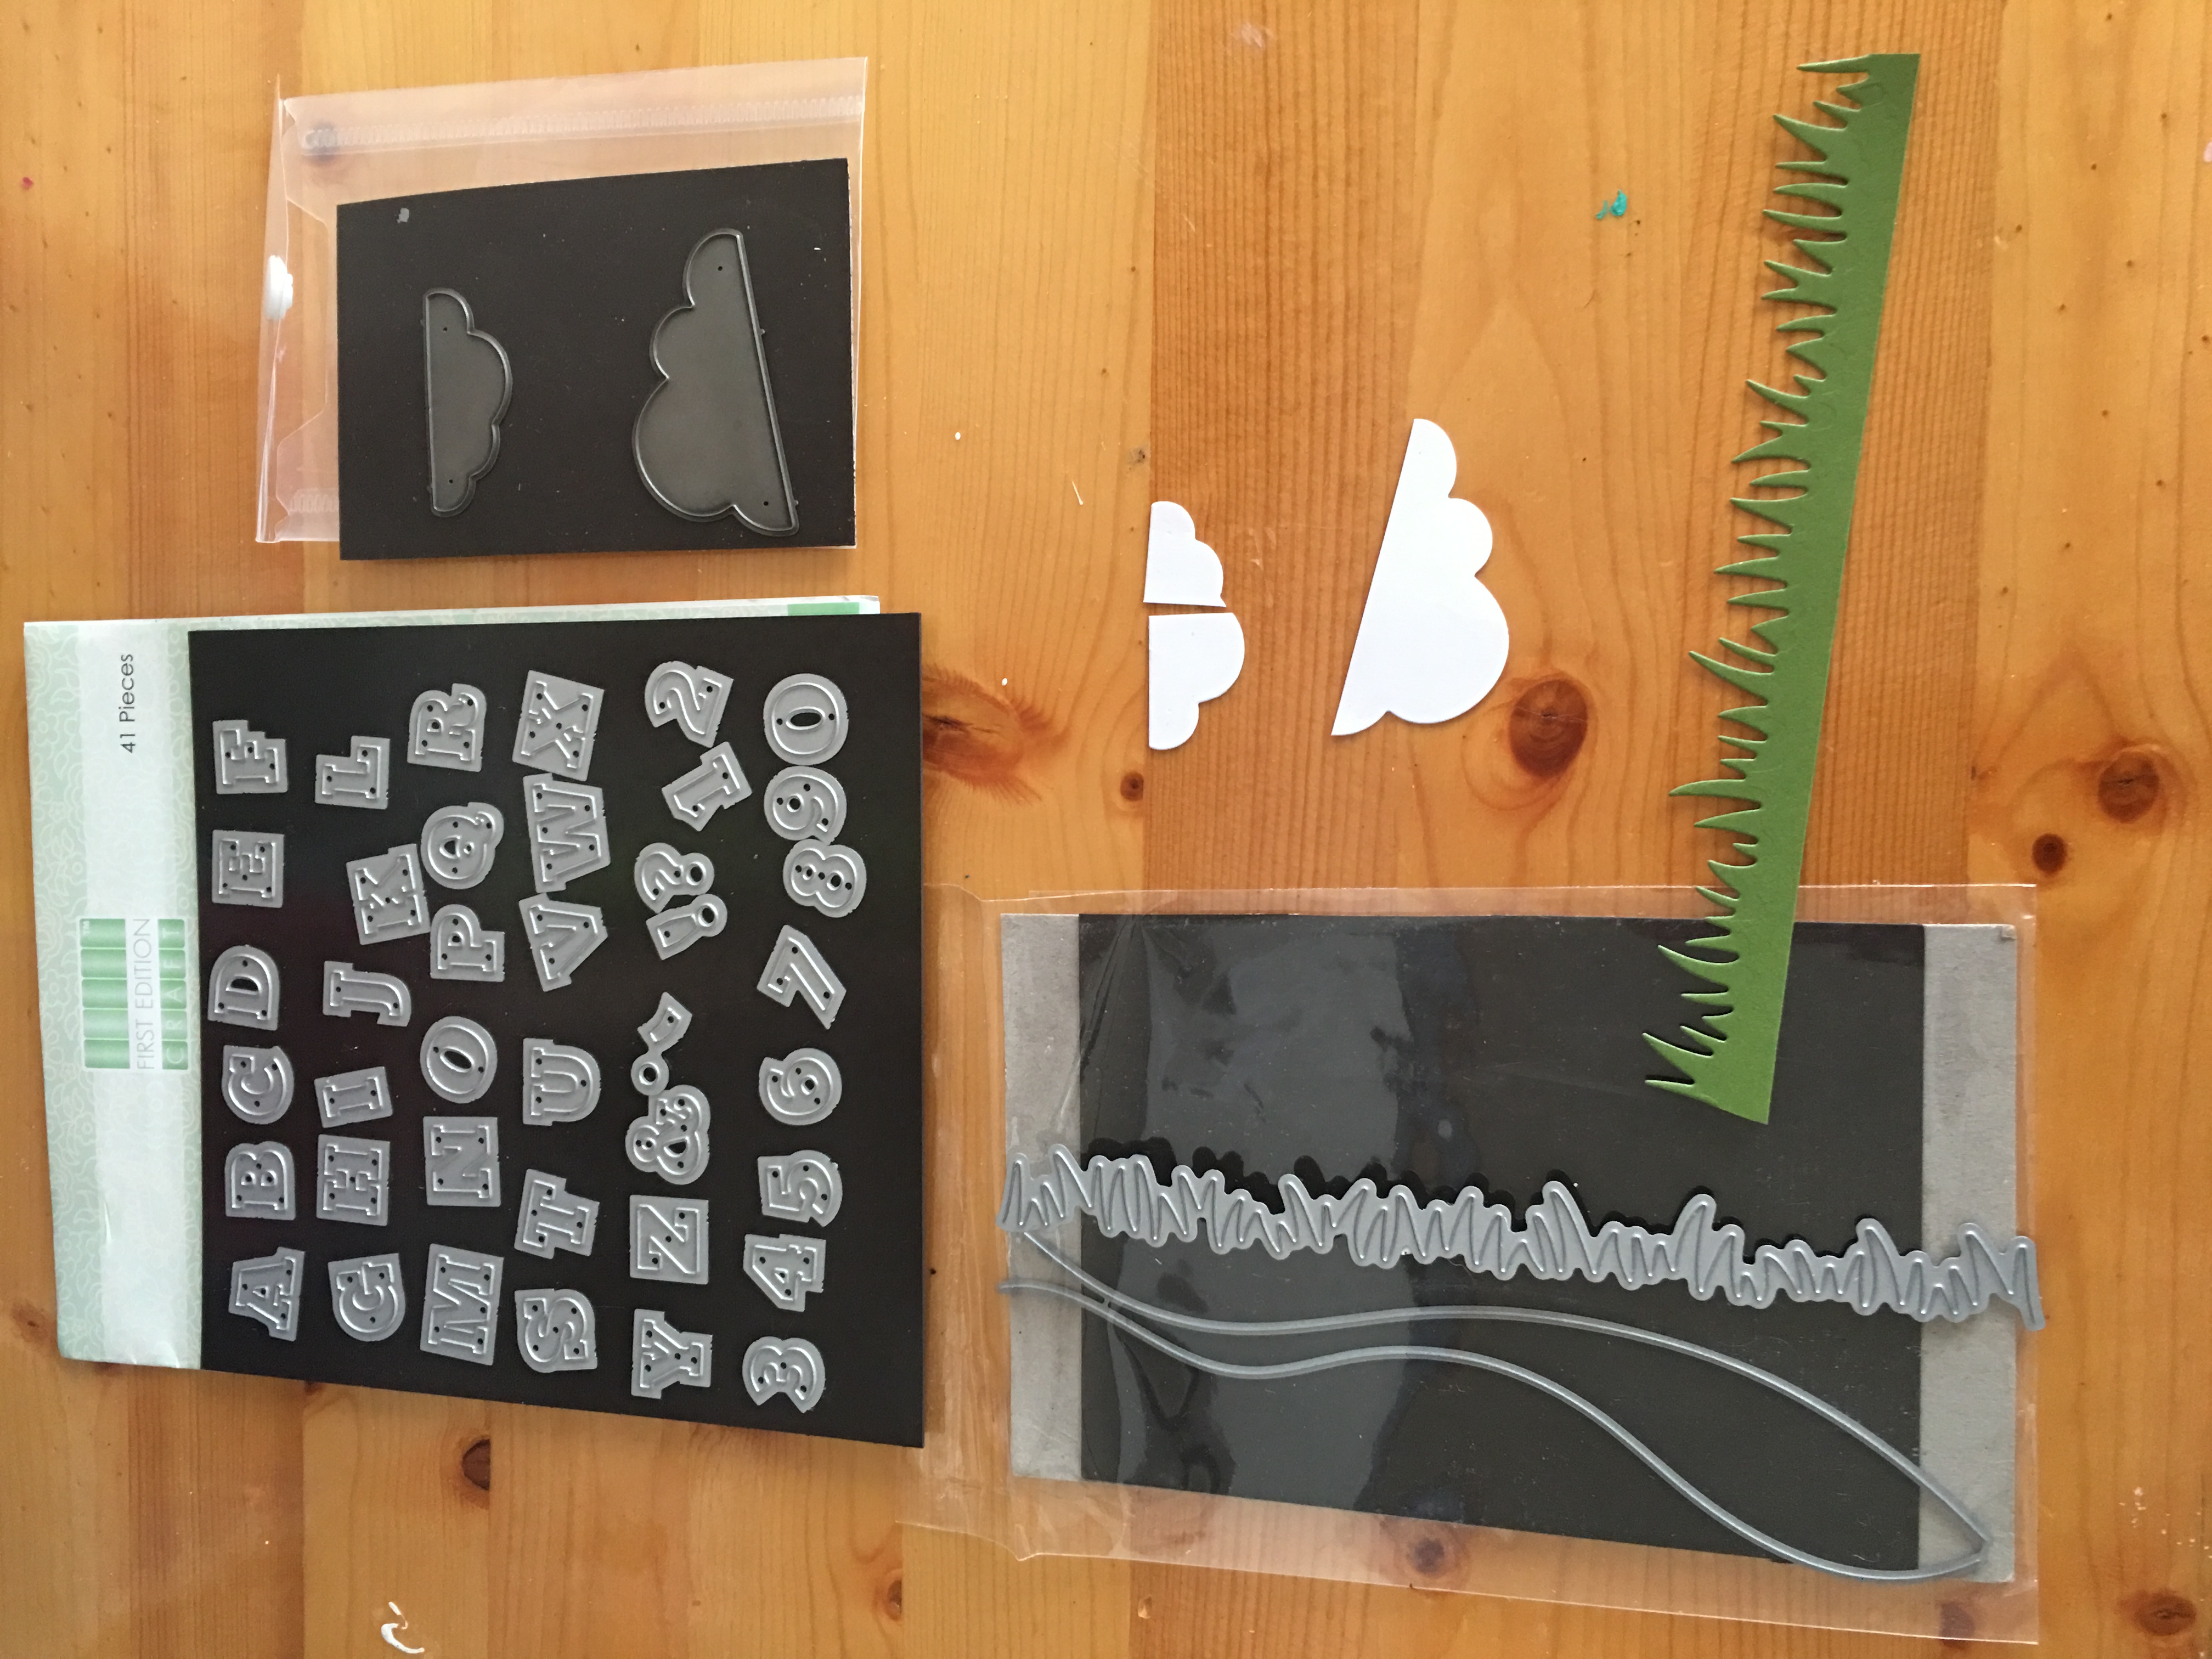
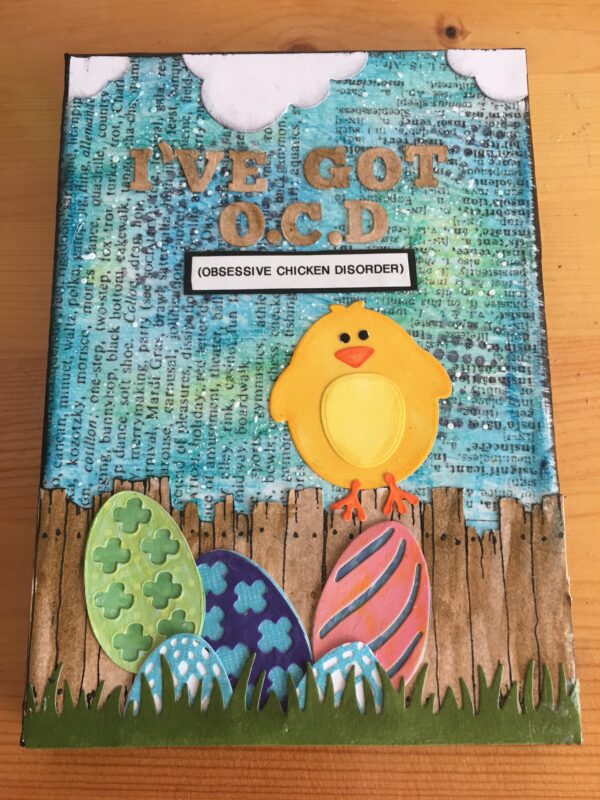
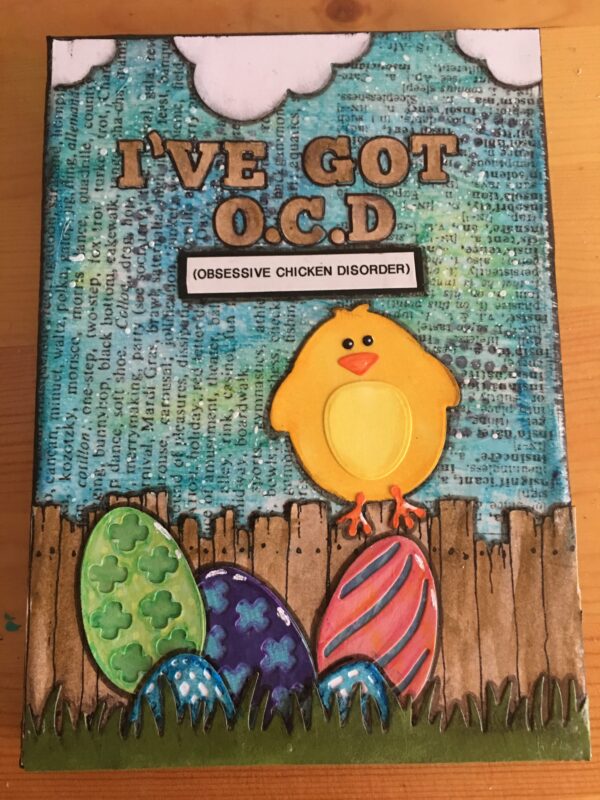
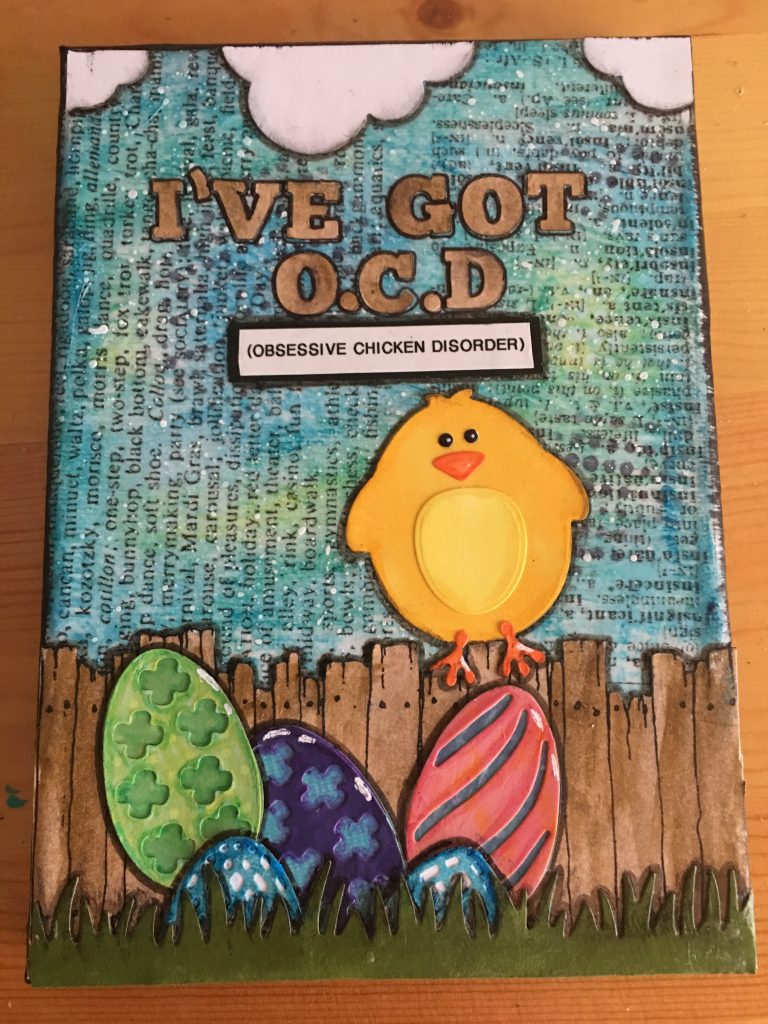
Hi there, I am happy to be part of the Kat Scrappiness design team.  I enjoy making cards but sometimes it is nice to use your supplies to make something a little different ...  that's where I come in, a little different!!   For my First project I decided to go with an easy 5 x 7 mixed media canvas.  This was a super cute and easy project and I'm happy to walk you through the steps.
I started by covering my canvas with Tim Holtz's Ideology Tissue Paper which I had in my stash.  I used Mod Podge to adhere the paper onto the canvas.  I usually cover the canvas with the glue first and then adhere the paper on, then seal it with a second coat of mod podge.
Next, I stamped this weathered fence image by Two Paper Divas onto white cardstock and fussy cut it.
Then comes the fun part part... playing with Tim Holtz - Distress Crayons,   These crayons are so versatile you can use them to colour in your stamps or to create fun backgrounds! I did both!  I used Vintage Photo distress ink for the fence,  and the background is made using of Mermaid Lagoon, Peacock Feathers and Twisted Citron distress inks.  Using the Tim Holtz Water Brush, I can vary the pigment so that it isn't one solid colour.
I used Gina Marie's Easter Egg dies and die cut them with my Vagabond using just scraps of paper that I had laying around.
I also used Gina Marie's Easter Chick dies to create this adorable little character.  I die cut it out of white cardstock and colored the image with my copic markers. I used my Crystal Katana  and my Zig 2 Way Glue Pen to help me glue the pieces together since they were so tiny.
Now that my background is dry I wanted to give it a little bit more texture, I started by using a favourite stencil of mine which is the Tim Holtz's Dot Face Stencil.  I used Ranger Archival Black Ink and an old make up sponge and added the stenciling in a few places. To create the background splatter, I used watered down white paint and an old fan brush. I just dipped the brush in the watered down paint, and used another brush to tap it above and onto my canvas.
I  die cut the rest of my elements using dies that were gifted to me while back by a very good friend.  I used green cardstock to cut a strip of grass, white for the clouds  and also white for the letters i will be using for my quote. Once my letters were cut I used the Tim Holtz Distress Crayons in Vintage Photo, so it would match my fence.
For my final step, I glued down all my elements with Mod Podge and then sealed everything again with a top coat. I then used my label machine to create the rest of my quote.  I added a black layer behind it and glued it on my project.
Then came the fun part just adding a  bit of shadow around all the elements using my Pitt Black Big Brush Marker.  This is my final project:
I had so much fun creating this canvas for Kat Scrappiness and look forward to sharing more projects with you in the future!  If you have any questions about the process of this project, please feel free to leave a comment on this post and I will get back to you.

Friday 10 March 2017

Coffee Lovers

Hi everyone I would like to share with you my coffee themed page I created using many supplies I have purchased at Kat ScrappoIness and items I have received in a rak from Canvas Corp.
Let me walk you thru the steps. I started by stamping all my elements I used a old stamp set by Stampin up for the coffee mugs using Bahama blue and pear tart Memento Luxe ink on a piece of canvas that I received from Canvas Corp. and I then die cut them using the matching die set. I then stamped my large coffee cup from Hero Art using Rich Cocoa Memento Luxe ink and fussy cut it.
My main image is Whipper Snapper Designs Inc -Monster Morning which I stamped using memento-tuxedo-black-dye-ink-pad I then used my Spectrum Noire Markers to colour in the image.

I then went on to my background, used Tim Holtz new Distress Oxide Ink. /fossilized-amber-distress-oxides-ink-pad    /vintage-photo-distress-oxides-ink-pad and /walnut-stain-distress-oxides-ink-pad . I just blended the three colours then took a old stencil from my stash to add texture to my background with gesso. I took the coffee sheet from my rak and fussy cut the beans and adhered everything down using gel medium and added a layer over everything to make my detailing easier.

Now for a the fun part adding details I used a stamp set called Latte Love by Fiskars to stamp the coffee beans around the page. Also used a Pink Ink Stamp called after coffee  on canvas and coloured in the cup with spectrum noire markers. Used thickers for my title and then decided to darken my coffee mugs using my markers.  Added a few hi lights using a white sharpie . And that finishes off my page. Happy Crafting everyone!